
Ever spotted a big “50% Off” tag and want to know how much you’ll really pay? That’s where a discount calculator helps. It takes away the guesswork and does the math for you. Whether it’s a sale, a coupon, or a special percent-off deal, this tool quickly shows your final price and how much you save. Knowing your real savings helps you shop smarter and make better choices.

What Is a Discount Calculator?
Fixed Amount vs Percentage Discounts
Fixed Amount Discount
A fixed amount discount subtracts a specific dollar value from the original price, no matter what the item costs. For example, $15 off means you always save $15, whether the product costs $50 or $500. This type of discount is easy to calculate and great for lower-priced items.
If you’re more into investment returns, try our Dividend Calculator or Stock Average Calculator to see how your profits add up.
Percentage Discount
A percentage discount reduces the price by a portion of its value. So, a 20% discount on a $100 item saves you $20, while the same 20% off a $50 item saves just $10. This discount scales with the price, making it more appealing on high-ticket items like electronics or furniture.
Quick Tip:
For lower-priced items, fixed discounts often look better. For higher-priced products, percentages usually deliver more savings.
Examples of Different Discount Scenarios
Discounts come in all shapes, some straight, others sneaky. Let’s break down the most common scenarios:
Scenario 1: Simple Percentage Discount
- Original Price: $80
- Discount: 25% off
- You Save: $20
- Final Price: $60
Scenario 2: Fixed Amount Discount
- Original Price: $45
- Discount: $10 off
- You Save: $10
- Final Price: $35
Scenario 3: Tiered Offer – Buy 2, Get 1 Free
If one item costs $30, you buy 3 and get 1 free
- Total Paid: $60
- Effective Price per
- Item: $20
- You save $30 overall.
Scenario 4: Combo Discount
- Original Price: $120
- Promo: $20 off + 10%
- extra discount
- Step 1: $120 – $20 = $100
- Step 2: 10% of $100 = $10
- Final Price: $90
- Total Savings: $30
How to Calculate the Original Price from a Discounted Price
To determine the original price when you know the discounted price and the percentage discount, you can use this reverse formula:
Example:
If an item costs $75 after a 25% discount, divide $75 by 0.75:
$75 ÷ 0.75 = $100
So, the original price was $100 before the discount.
This reverse calculation is useful when reviewing receipts, verifying price tags, or comparing pre-sale values. It ensures transparency and helps you assess the true value of the discount offered.
Frequently Asked Questions
What is a Discount Calculator used for?
A Discount Calculator helps you quickly find the final price of an item after applying a discount. It’s useful for shopping, sales, or comparing deals without doing manual math.
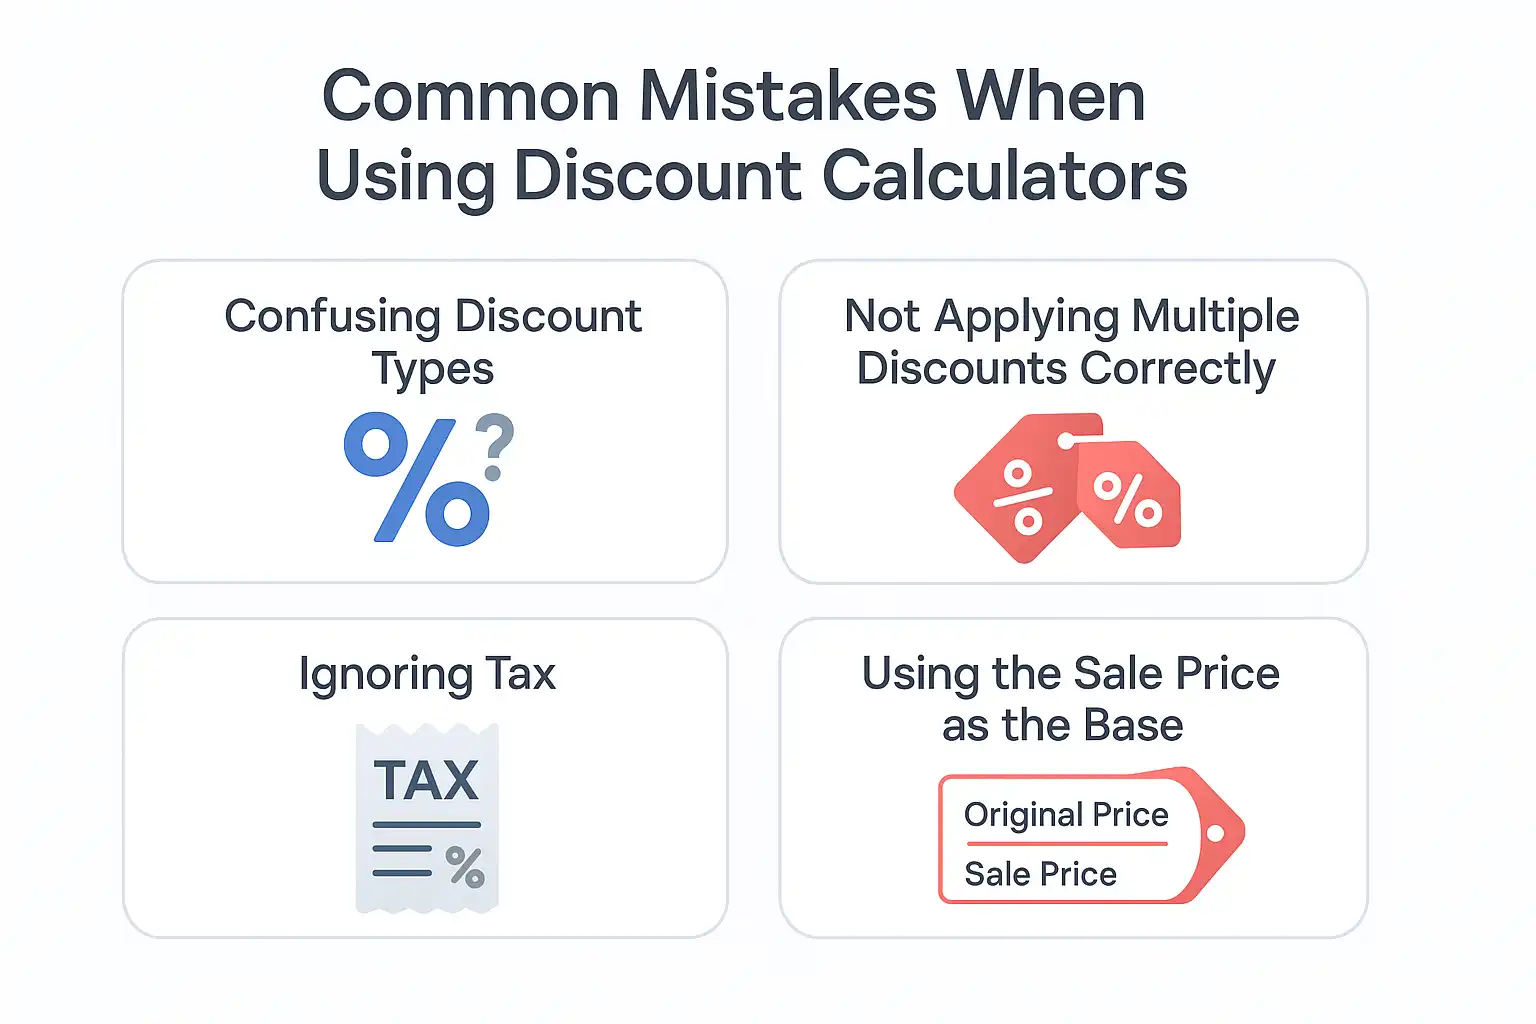
Can I use the calculator for multiple discounts?
Yes, you can calculate multiple discounts by applying them one after another. For example, if a store gives 20% off and then an extra 10% off, you can enter them in sequence.
Why is the discount not the same as the amount saved?
A discount is expressed as a percentage, while the amount saved is the actual money reduced from the original price. The calculator shows both so you can clearly see the savings.
Does the calculator include taxes or shipping costs?
No, the calculator only applies the discount to the product’s listed price. Taxes, shipping, or extra fees should be added separately to find the true final cost.
Who can benefit from using a Discount Calculator?
Anyone who wants to quickly and accurately calculate discounts can benefit from a Discount Calculator. It is especially useful for shoppers comparing deals, students learning basic math, retailers setting sale prices, and businesses that need to apply discounts or promotions without errors.
This calculator was created by the InterCalculator Editorial Team, led by Haris Farooq (Formula & Development). Our team specializes in formula research, calculator logic, and technical development, ensuring each tool is accurate, fast, and easy to use.
View Team →Before publishing, every calculator goes through the InterCalculator Accuracy Review Process. For the Discount Calculator, we verify formulas against trusted retail pricing and percentage calculation standards. We test results across multiple shopping and sales scenarios to ensure the outputs are consistent with real-world pricing outcomes. All calculations are reviewed with an experienced pricing analyst to confirm accuracy, clarity, and reliability.
View Process →